@lyse In my case it was a silver necklace, a hummingbird with a wing connected with the cold welding I mentioned using thin brass wires.
It made it in a goldsmithing class (I went to a private craftmanship high-school) so no phones allowed (no photos of it) and no "take home" of the works.
Here's a rough sketch of it drawn by memory, the dots in the wing is where it connects to the body.
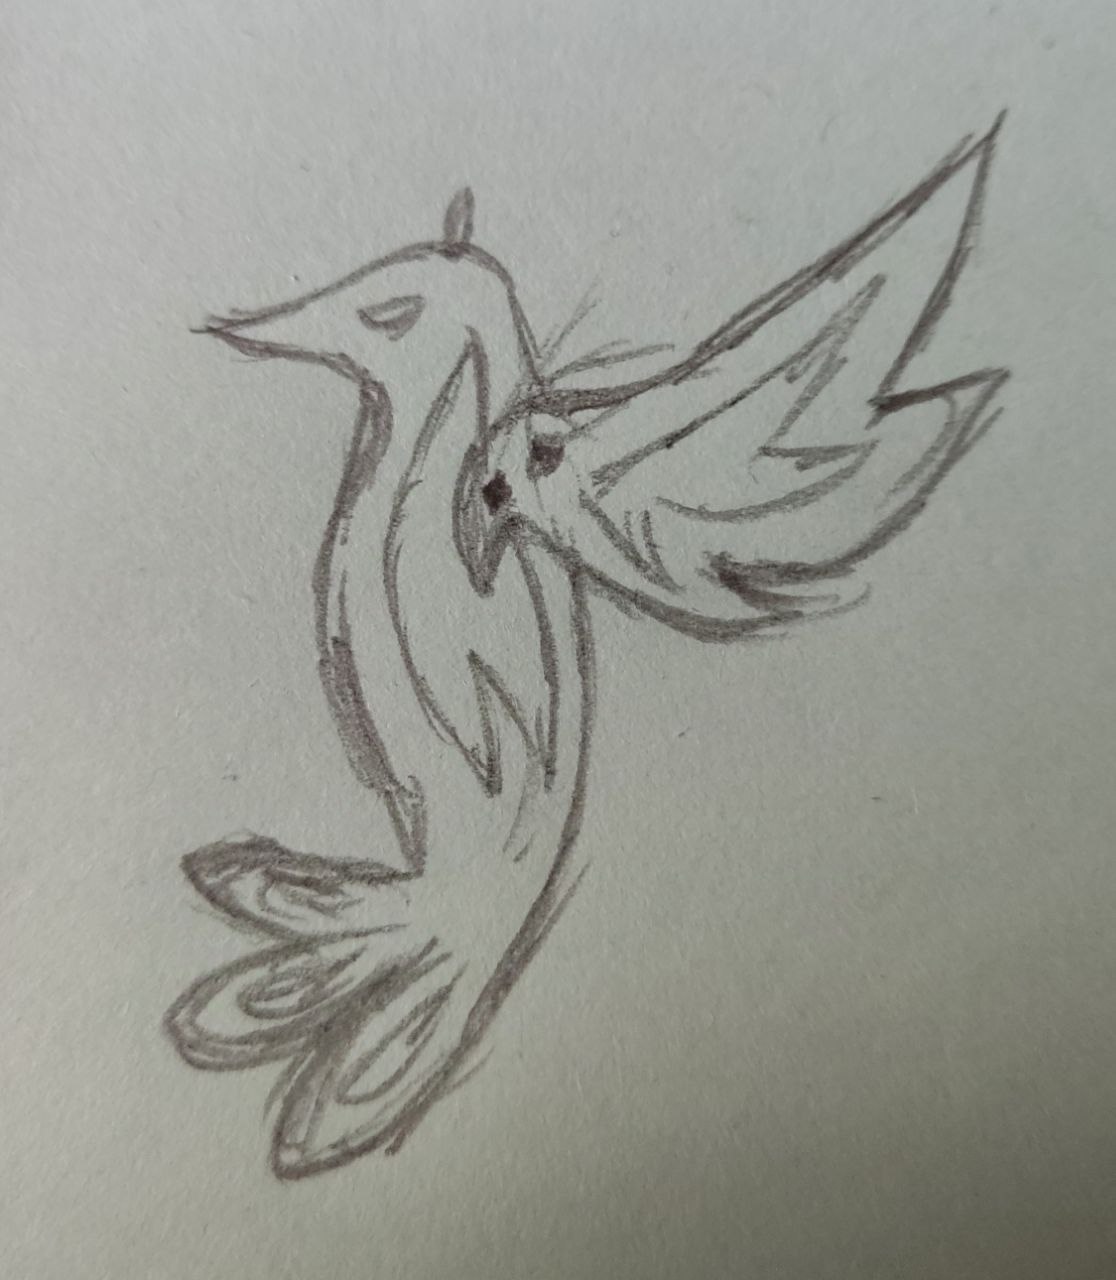
The technique is basically the same as i described, but the scale is much smaller, the whole piece was about 5-6 cm on the largest side.
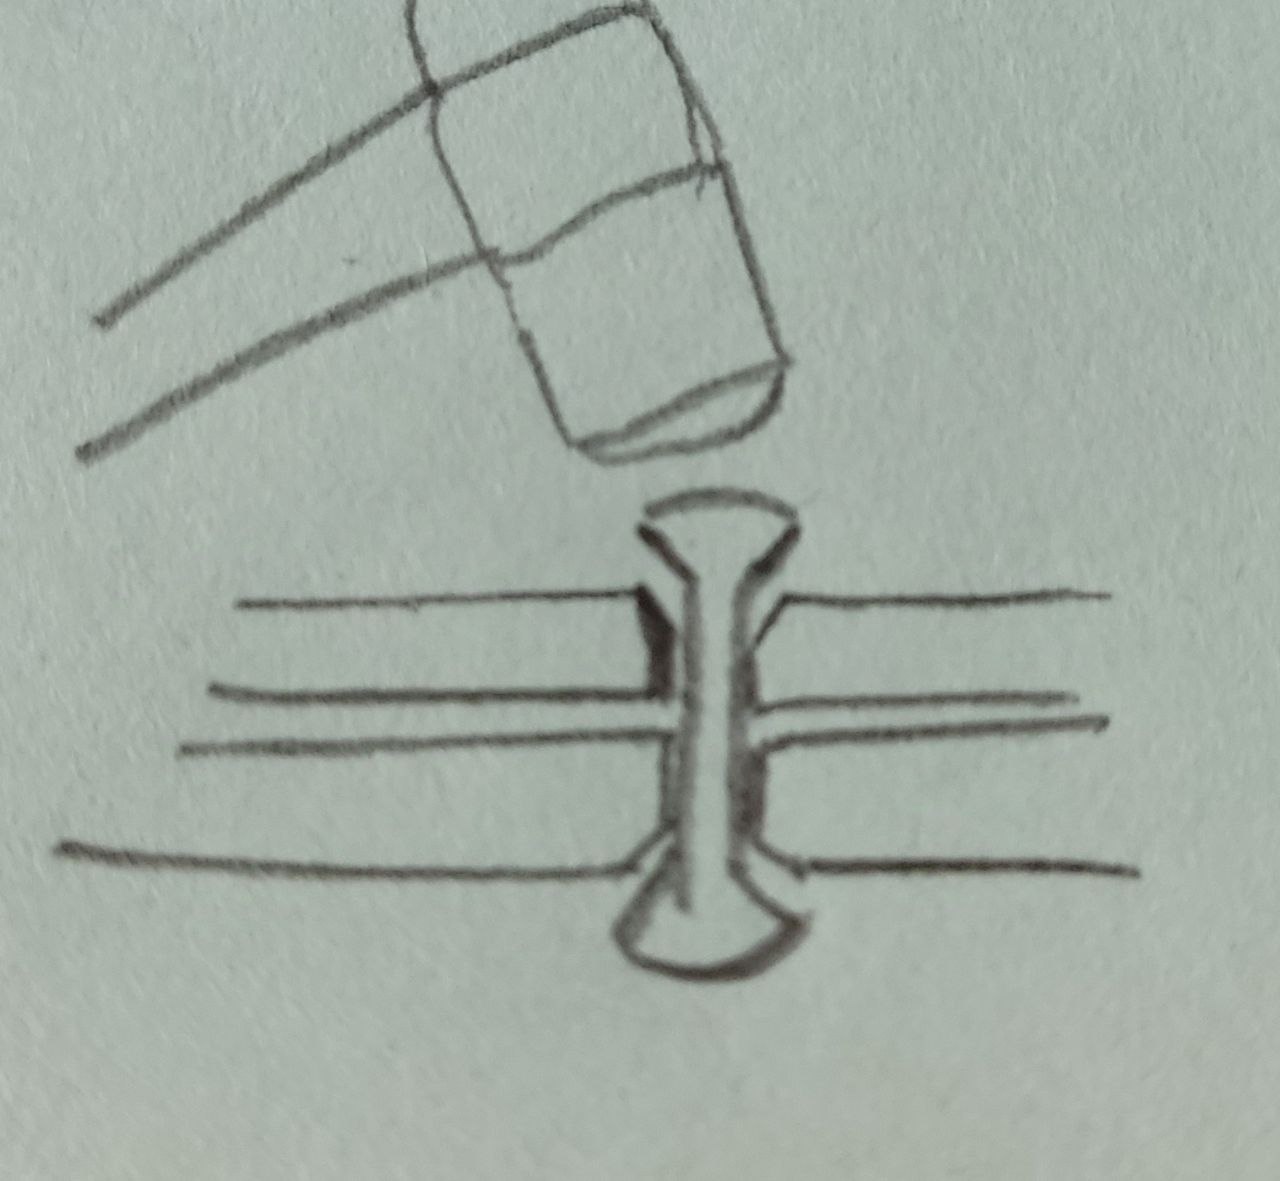
The rivet was made by drilling a hole through the parts, than with a short and thicker drill you widen the hole on the surface to let the rivet settle flatter on the piece, then with a rubber hammer you hit it to flatten the head until it's snug on the hole, lock them together by doing the same on the other side.
Note that widening the hole with a thicker drill head won't make a difference with bigger holes, mine had holes of about 1-2 mm of diameter maximum.
Here's a sketch of what is going on for clarity.